Start with your actual week
Before you plan a room, describe the moment you want it to support. It may be a quiet evening downshift, a short reset after training, or a shared weekend ritual. The answer helps decide whether the space should begin with warmth, cold or a more portable recovery option.
This approach protects the budget and the layout from becoming too broad too early. A room designed for a specific rhythm is easier to finish and easier to return to than one designed around every possible activity.
Give the space clear zones
Think in simple zones rather than furniture categories. There is the main recovery zone, an arrival and transition zone, a dry storage zone and, where needed, a care zone for the practical tasks that keep equipment ready. These areas can be modest. Their purpose is to keep the room legible and calm.
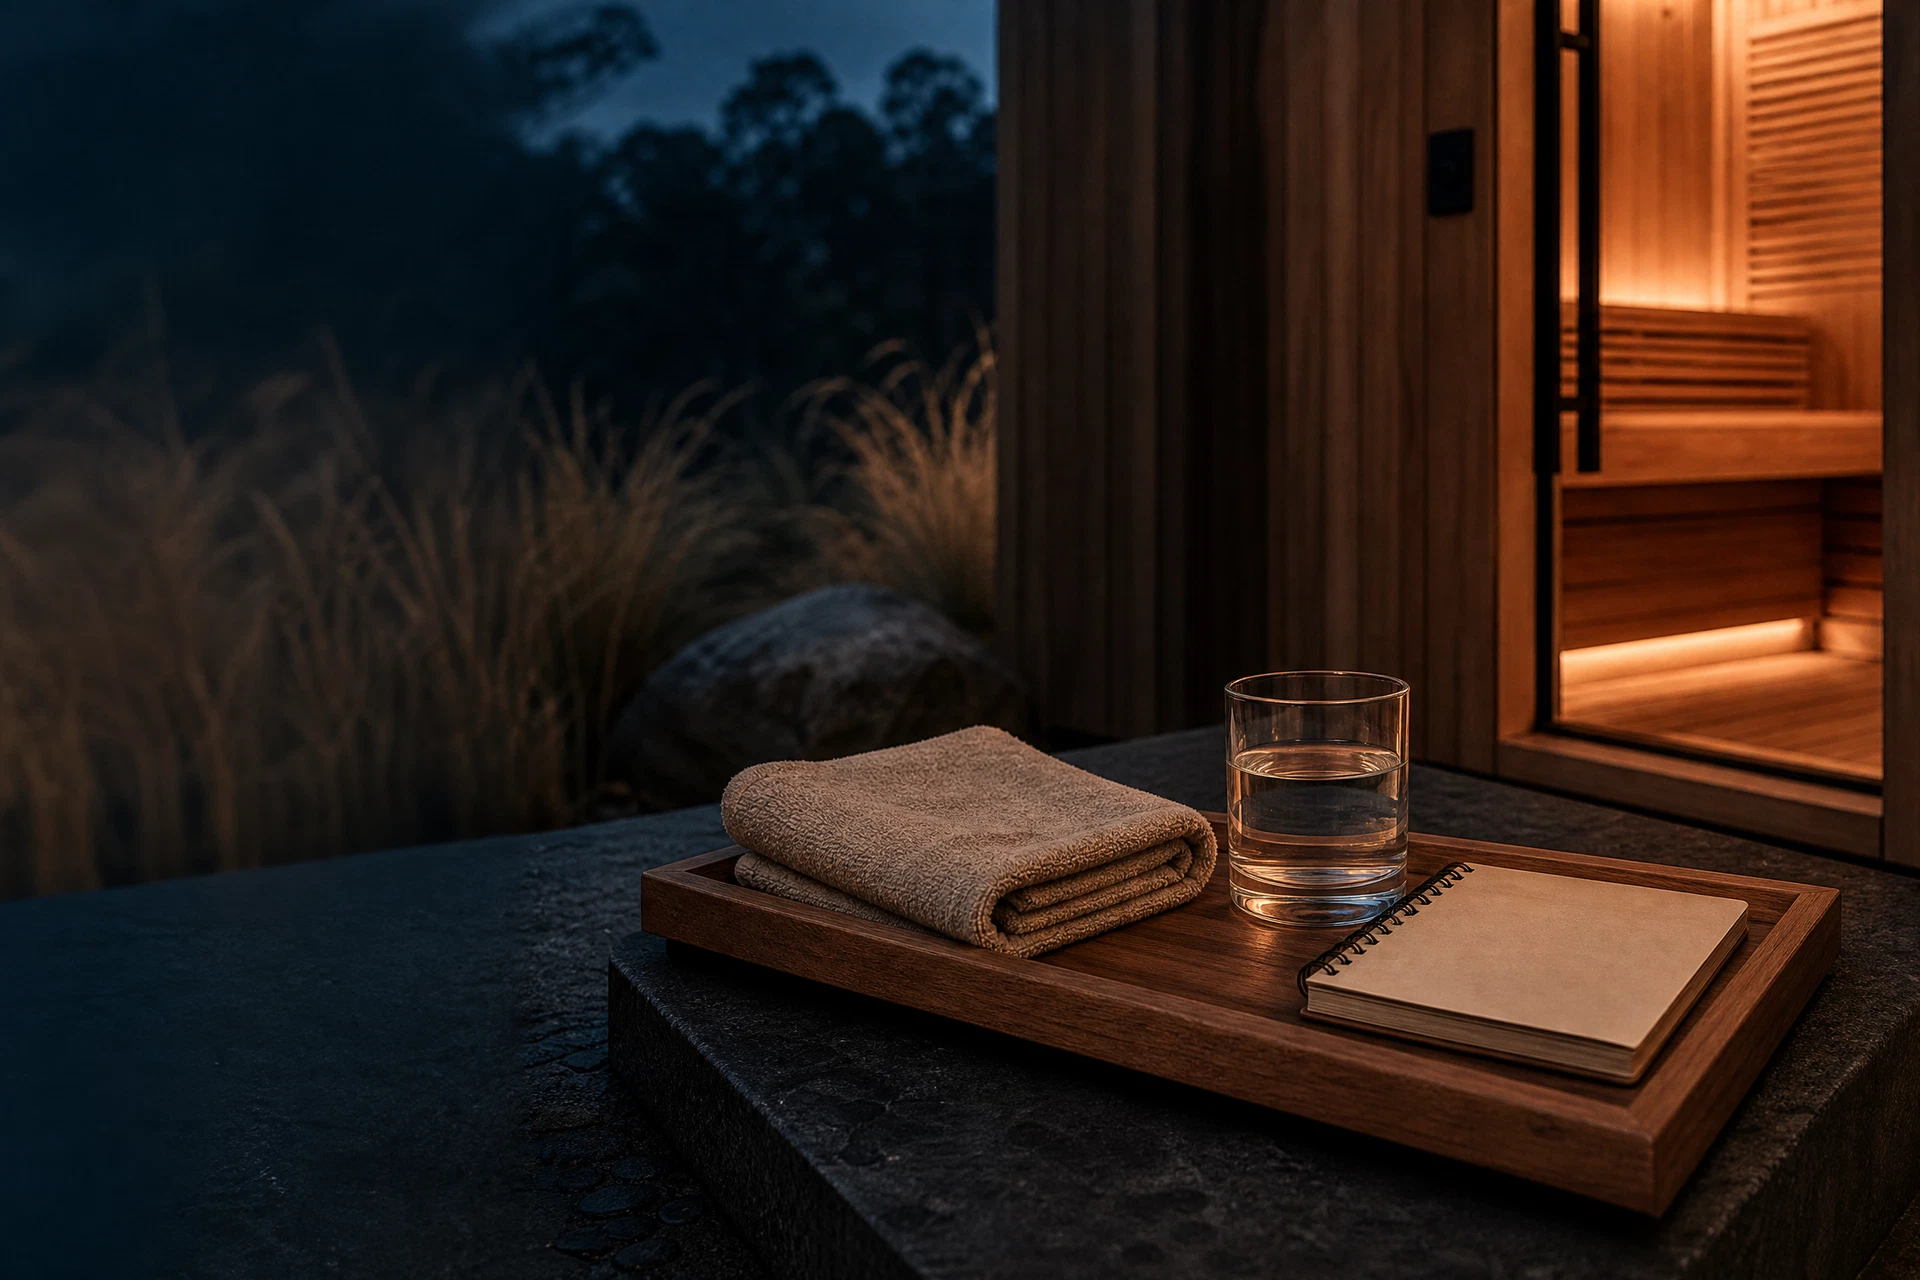
Avoid treating every spare surface as storage. A small number of useful, accessible items—towels, a water vessel, a seat or a hook—will often do more for the experience than a room full of accessories.
- Recovery zone: the main piece of equipment and the space to use it comfortably.
- Transition zone: a dry, uncluttered place to arrive, pause and leave.
- Storage zone: simple homes for towels and routine supplies.
- Care zone: access and storage for any product-specific maintenance requirements.
Plan circulation before styling
A recovery room should allow you to move through it without negotiating corners, cords or wet surfaces. Map the route from entry to equipment and back again. Consider door swings, access panels, outdoor thresholds and the distance between a wet activity and a dry place to change.
Once the movement is right, styling has a much simpler job. Material choices, lighting and storage can reinforce a calm environment without trying to solve a layout problem that should have been settled earlier.
Build in phases when that is more realistic
A good recovery room can be staged. The first phase may be a sauna or a cold plunge. The next may add recovery compression, better lighting or a small seating and towel area. Working in phases lets you learn what the space needs from actual use rather than guessing everything before the first session.
Leave enough flexibility for the room to evolve. Protect access routes, keep service needs visible and choose durable baseline finishes where water, warmth or regular cleaning will be part of the environment.
A practical room-planning checklist
Bring this checklist to an initial conversation with the Arctic Fire Recovery team. It does not replace model-specific instructions or qualified trade advice, but it helps turn a broad idea into a more useful brief.
- What behaviour or point in the day should the room make easier?
- What is the first piece of equipment that serves that purpose?
- Where are the entry, movement, dry storage and care zones?
- What site details should be checked before ordering or installation?